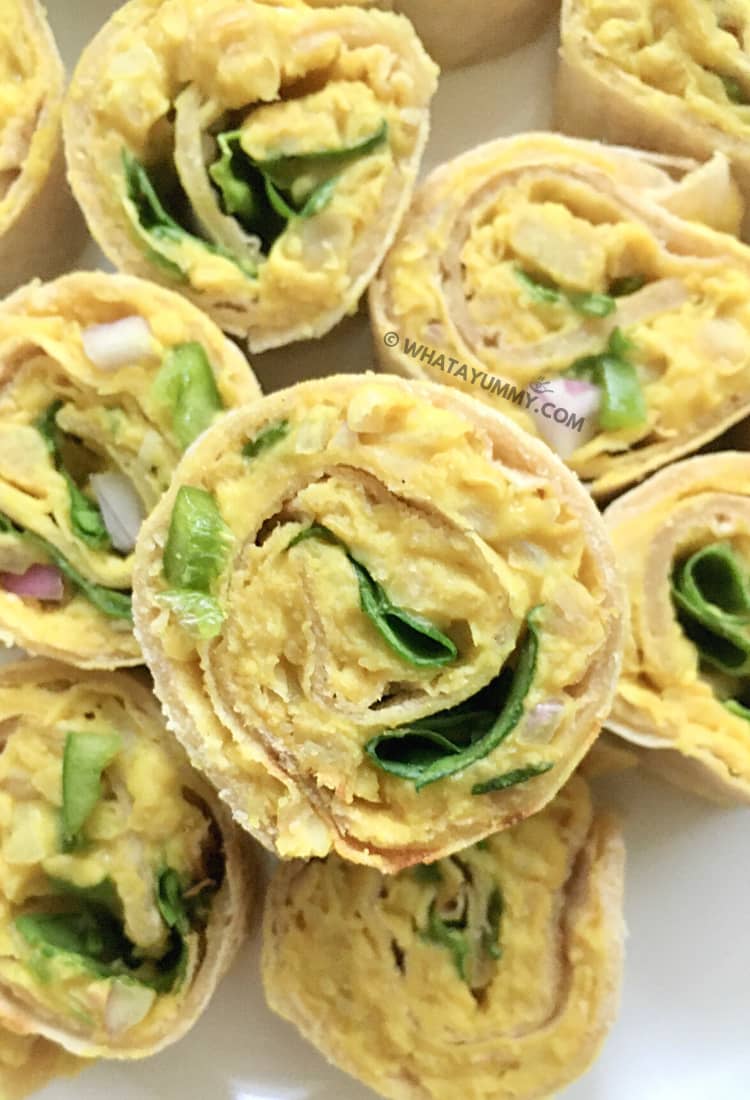
A perfect hearty meal for your vegan lunch parties. This Chickpea Salad is very easy and quick to make; it could also be a fun activity for kids as they can help you with the preparation.
WHAT I NEED TO MAKE CHICKPEA SALAD
This recipe for chickpea salad pinwheels is super easy and can be put together with very few ingredients at hand.
- Chickpeas, you can use canned chickpeas in this recipe by rinsing them and draining off the excess water. if in case you are using the fresh ones, make sure to soak them overnight and pressure cook them until soft.
- Avocados, it is a superfood and can turn any recipe into a hearty meal, make sure to use ripe avocados as they lend their natural creaminess to the salad.
- Onions and jalapenos, the vegetables add a beautiful crunch to every bite of the creamy chickpea salad, not only that, but it also balances out the flavours throughout.
- Mayonnaise, hot sauce and mustard sauce, this chickpea salad is very forgiving and can easily be customised depending on your taste. if you want it creamier, add some additional mayo, add more mustard if you like that tart zing and more hot sauce for that extra spicy flavour.
- Seasoning, as per your taste, it totally depends on how you like your chickpea salad as.
- Tortillas and spinach for assembly, I always make sure to use the whole wheat tortillas as they are a healthier alternative and are slightly crunchier than the usual ones.
HOW TO MAKE CHICKPEA SALAD
This chickpea salad is a perfect lunchtime snack for the summer, from kids to adults, everyone would enjoy it as much as they can/want.
It is so easy to prepare that you can even include your kids in the activity.
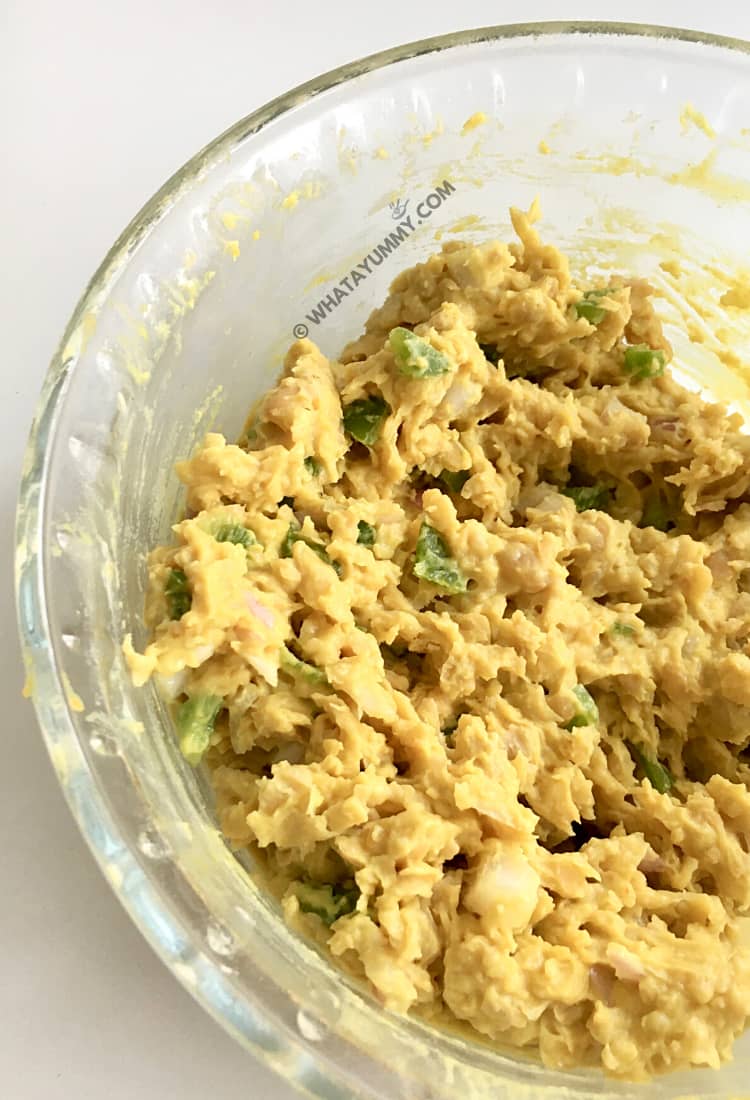
- Start by mashing the chickpeas in a big bowl, do this with the help of a fork and then scoop out a ripe avocado into it, mix it well.
- Then add the onions, jalapenos, sauces and the seasoning and give it all a nice mix until everything is incorporated nicely. Rest the filling for 15 minutes.
- The filling can be made and stored in the refrigerator 5-6 hours prior to the assembly.
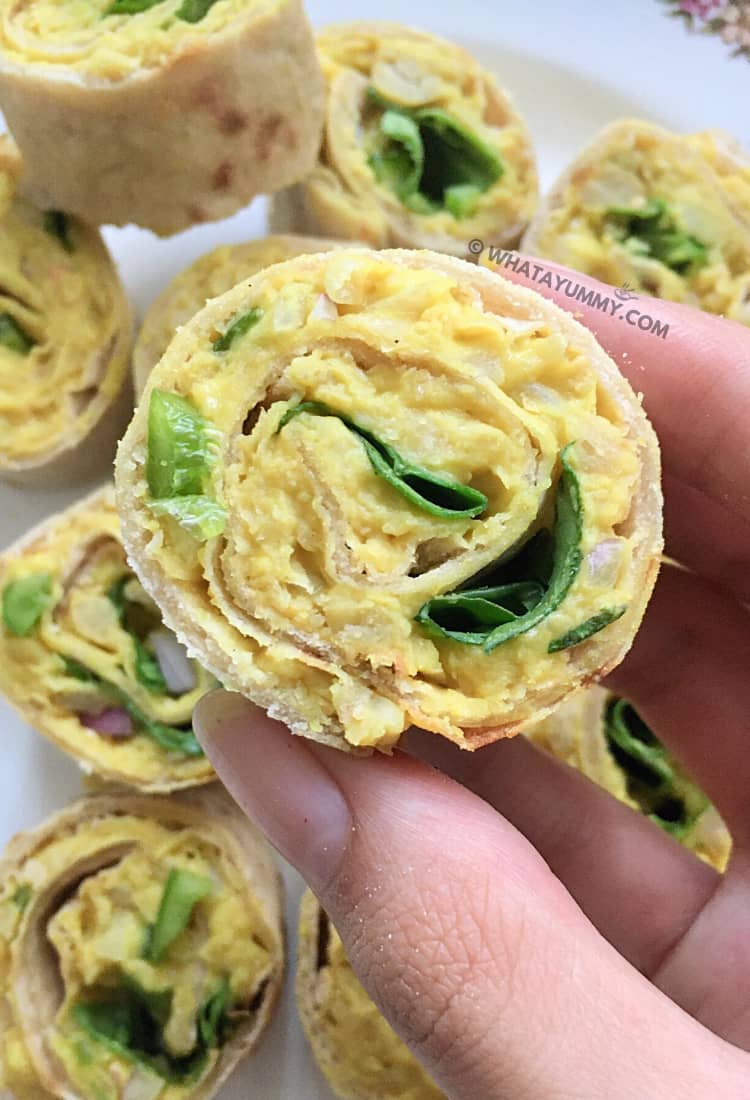
Take the tortilla wraps, spread the filling all across and it and spread spinach leaves on one half, this ensures that your tortilla sticks perfectly and stays intact while cutting them into the pinwheels. Rest them in the refrigerator if you like or just enjoy as it is.
TIPS
1. Once, your chickpea salad filling is made, it’s very important to put it in the refrigerator for at least 20 minutes, it helps in binding and enhancing the flavour.
2. The salad filling can also be made 5- 6 hours and stored in the refrigerator before the assembly.
3. While spreading the spinach, make sure to only spread it on one half of the tortilla so that the pinwheels stay intact and don’t become messy while getting cut.
4. The pinwheels can be made and stored in an airtight container the refrigerator, for not more than 2 hours, or else the tortillas might get soggy.
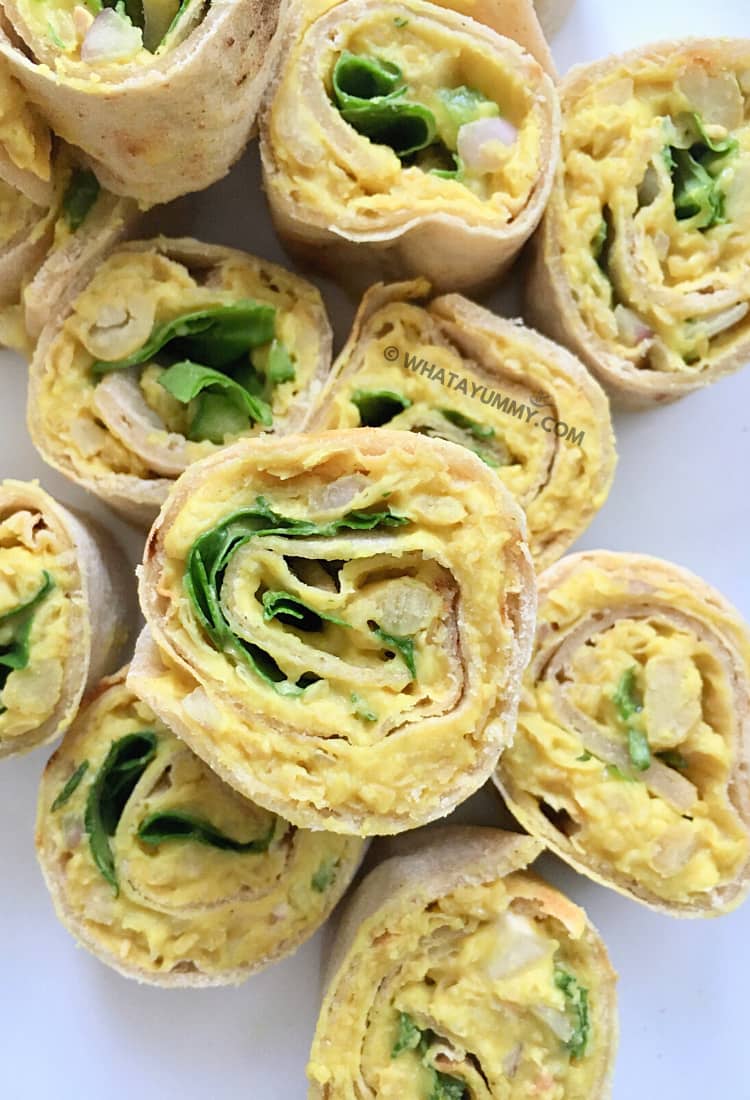

Chickpea Salad Pinwheels
This Chickpea Salad is very easy and quick to make; it could also be a fun activity for kids as they can help you with the preparation.
Ingredients
- 2 cups cooked chickpeas
- 1 ripe avocado
- ¼ cup chopped jalapeño
- ¼ cup chopped onion
- ¼ cup mustard sauce
- ¼ cup vegan mayonnaise
- pepper to taste
- garlic salt to taste
- hot sauce to taste
- 2 whole-wheat tortillas
- ½ cup baby spinach
Instructions
- Start by taking chickpeas in a big bowl, mash them with the help of a fork. Scoop out the avocado and mix until fully combined.
- Add jalapenos, onion, mustard, mayonnaise, hot sauce, and the seasonings. Incorporate everything nicely by giving a nice mix.
- Let the chickpea salad filling rest in the refrigerator for at least 20 minutes.
- Take the tortilla ad generously spread the filling all across it.
- Spread a few spinach leaves on one half of the tortilla and start rolling.
- Cut about 8 pieces into pinwheels with the help of a sharp knife.
Notes
They are ready to serve or you can refrigerate them by storing them into an airtight container for upto 2 hours.
